Getting started with C#
First make sure you have downloaded and installed Visual Studio Code and .NET Core.
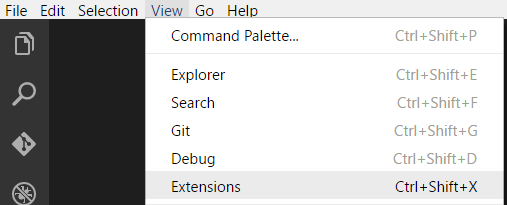
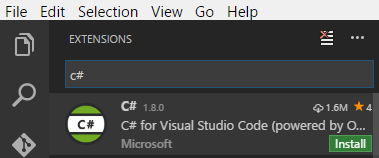
You will need to install C# extension inside Visual Studio Code in order to write and test your code in C#.
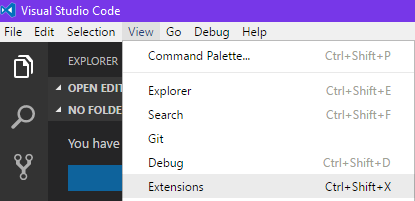
Open Visual Studio Code, Go to View > Extensions, then type in C# and Select C# for Visual Studio Code(powered by OmniSharp) to install.
To make sure .Net Core is running on your machine.
1. Open the Command prompt for Windows/Terminal for Mac.
2. In the command prompt/terminal enter the following command
"dotnet new console -o helloWorldApp", without the quotations marks.
Please note that "helloWorldApp" is the project folder name, you can name it whatever you like.
3. Next, enter the command "cd helloWorldApp", without the quotations marks.
4. Next,enter the command "dotnet restore" without the quotations marks. This command will restore the packages in the project file
5. The final command, enter "dotnet run", without the quotations marks. This will run helloWorldApp
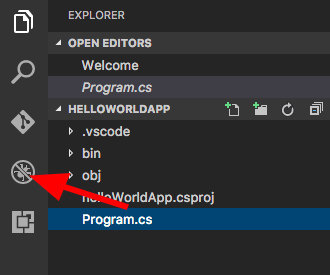
6. Open VSC(Visual Studio Code), In VCS you can open the project by going to "File -- Open " then search for your project to open .
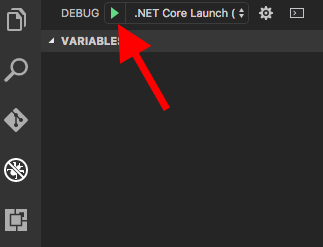
7. You can find the Debugger tool here.
8. Click the Debugger button to run the program.
9. On the Debug Console you should see this output.
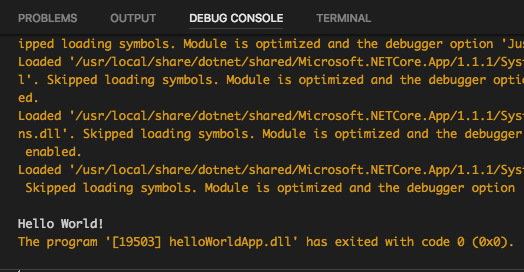
You have now created a template hello World Application!
Getting started with Unity
Unity is a cross-platform game engine and it is used to develop video games for PC, consoles, mobile devices and websites.
First download and install Unity.
To be able to debug your Unity C# projects, we need to install the Debugger for Unity extension.
First open Visual Studio Code, Go to View > Extensions, then type in Unity and Select Debugger for Unity to install.
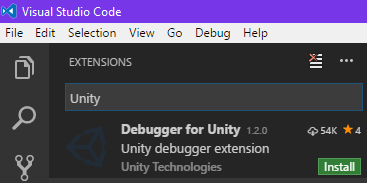
Once you have installed Unity and Visual Studio Code, the first thing you need to do is to change the default IDE to Visual Studio Code in Unity.
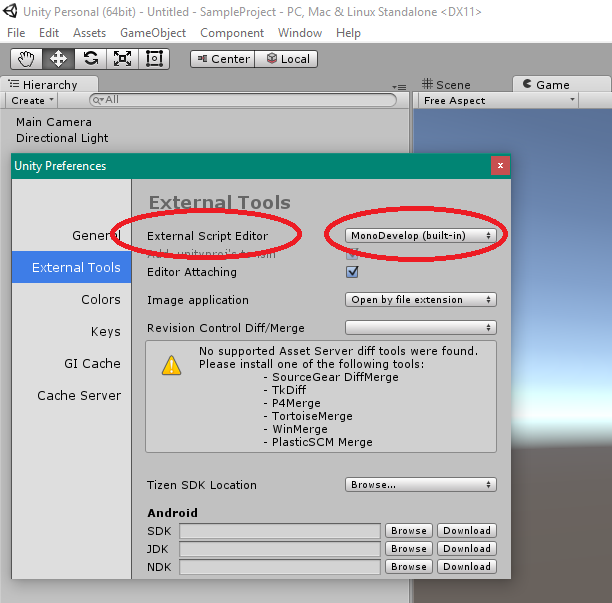
1. Open Unity. Go to Edit > Preferences.
2. Next Unity Preferences Window will appear, Go to External Tools > External Script Editor > Select Browse.
3. You will have to browse where you have installed Visual Studio Code application, Once you have found it double click it.
4. You now have Visual Studio Code as your default IDE for Unity.
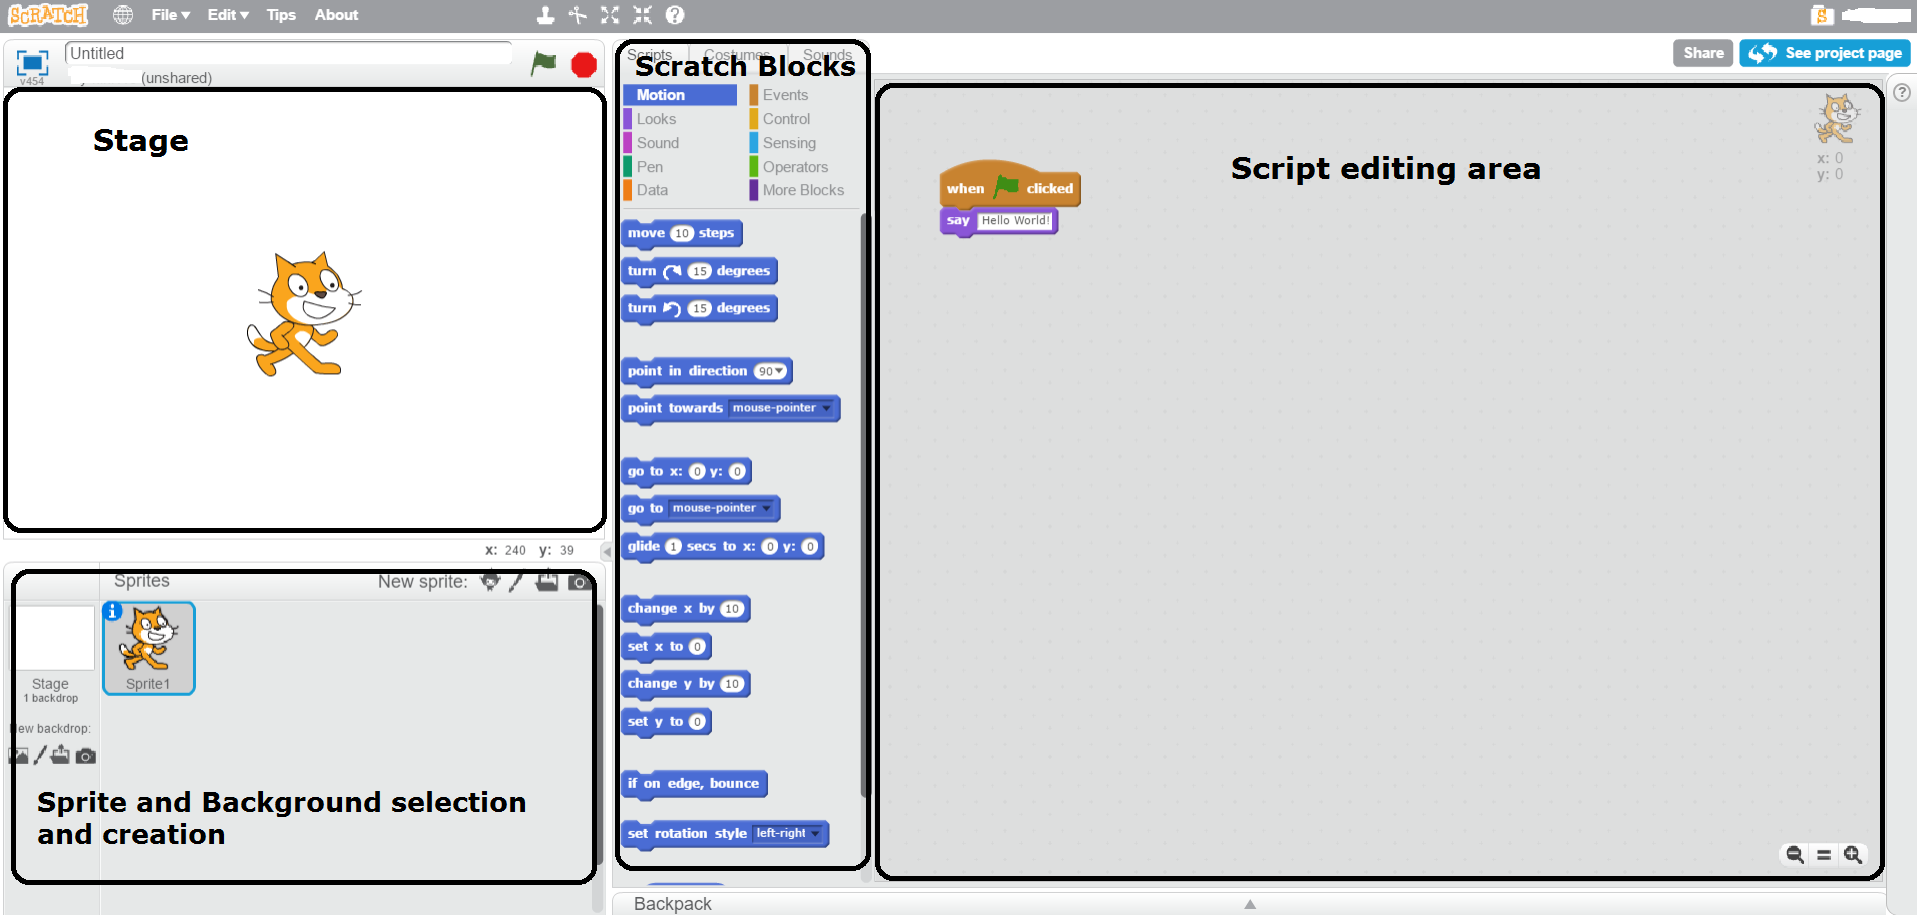
What Scratch look like
In Scratch, you start your project like this. You drag and drop the Scratch blocks you need into the Script editing area.
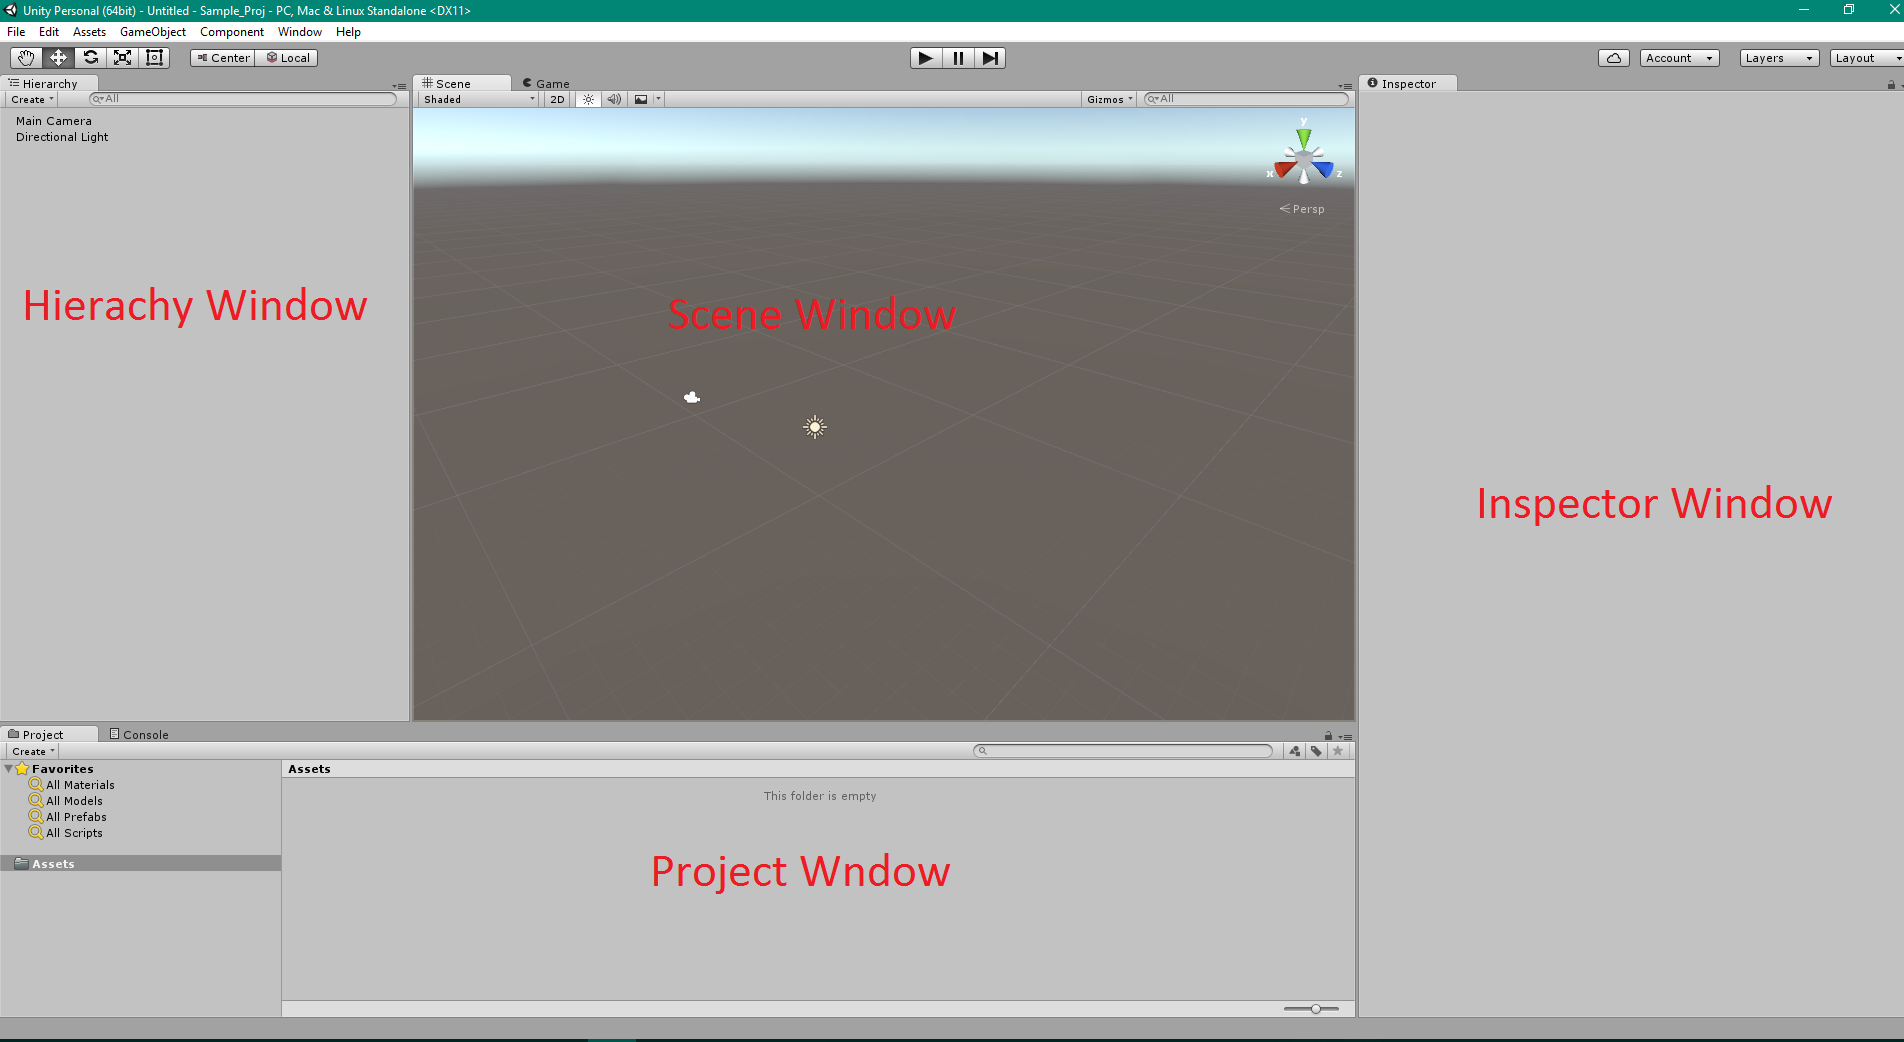
What Unity look like
In Unity, you start your project like this. Unlike Scratch, Unity offers a wide range of assets that you can import. You can even create assets yourself. Unity requires the use of code editor such as Visual Studio Code.
Creating a simple Unity 2D Project
Let's create a simple C# project using Unity game engine and Visual Studio Code.
First run Unity, click "New project".
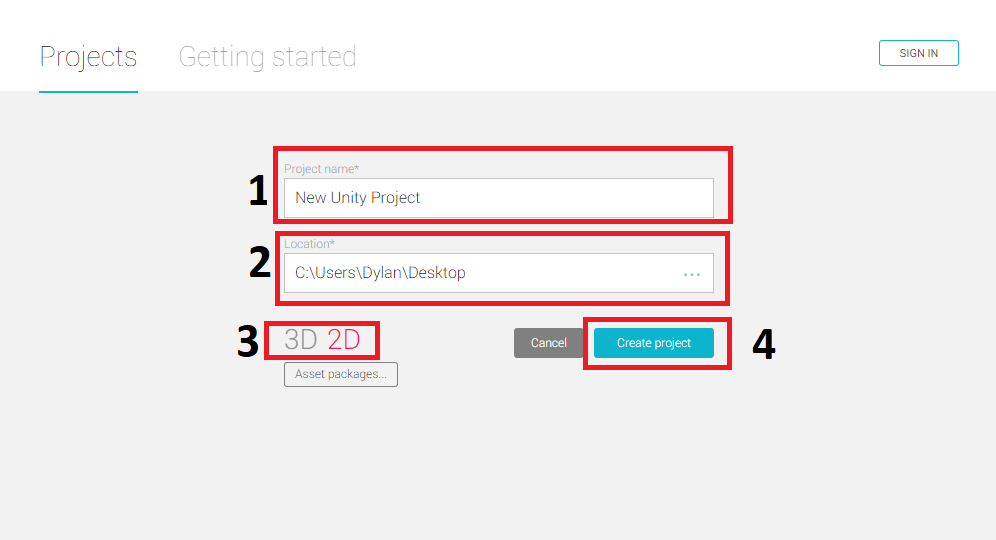
1. Name your Unity project.
2. Select a location where you want to save yor Unity project.
3. Select 3D if you want to create a 3D game or 2D for a 2D game.
4. Click "Create project".
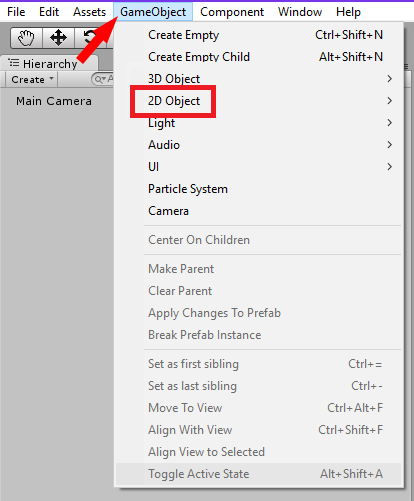
Let's create a simple 2D game object.
1. Go to GameObject and Select 2D gameobject and then Sprite.
2. The gameobject will now appear on the Hierarchy window and also the Scene window.
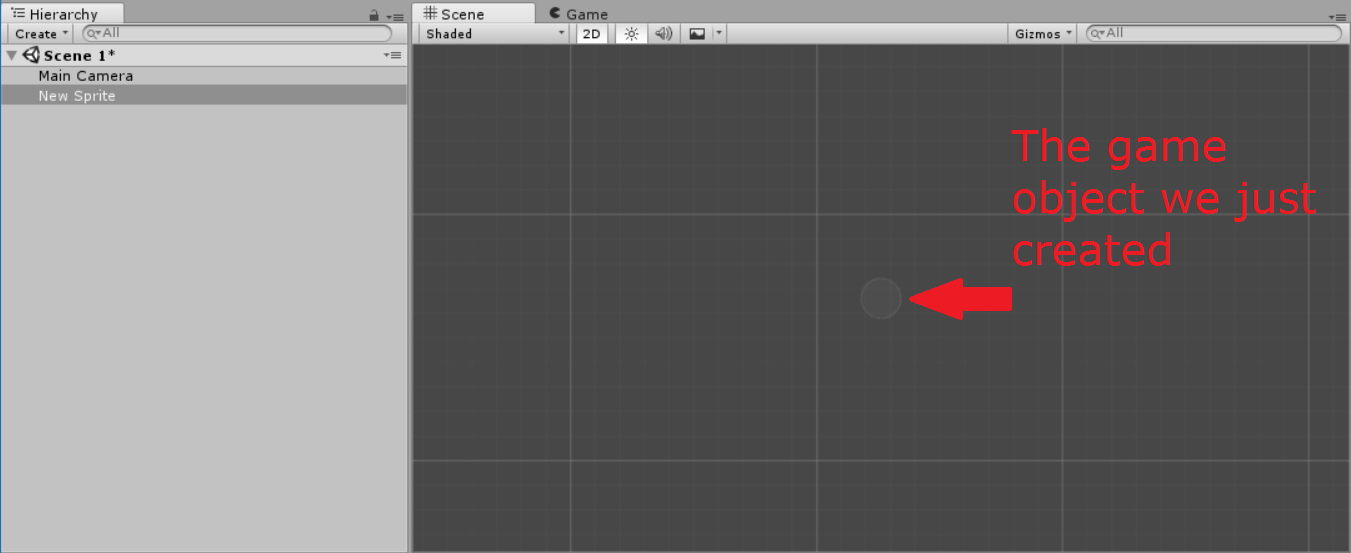
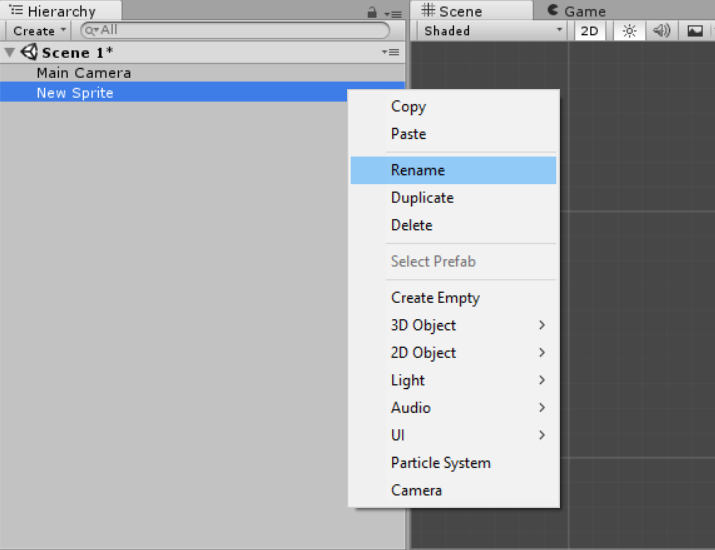
3. On the Hierarchy Window, Right click on the new sprite game object and rename it to Player.
4. Select "Player" In the Hierarchy Window, and go to the Inspector Window, Sprite Renderer -> Sprite -> Knob.
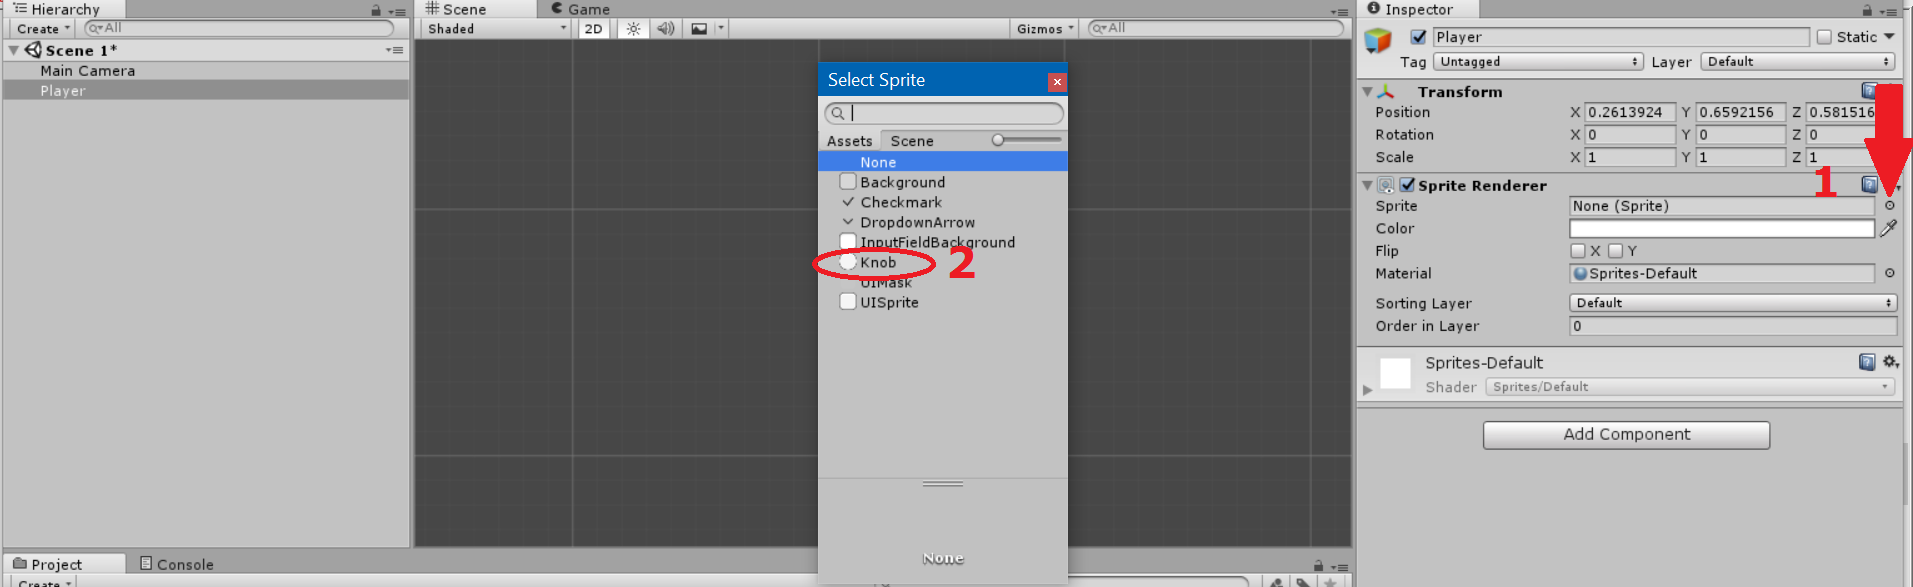
You should now be able to see your gameobject.
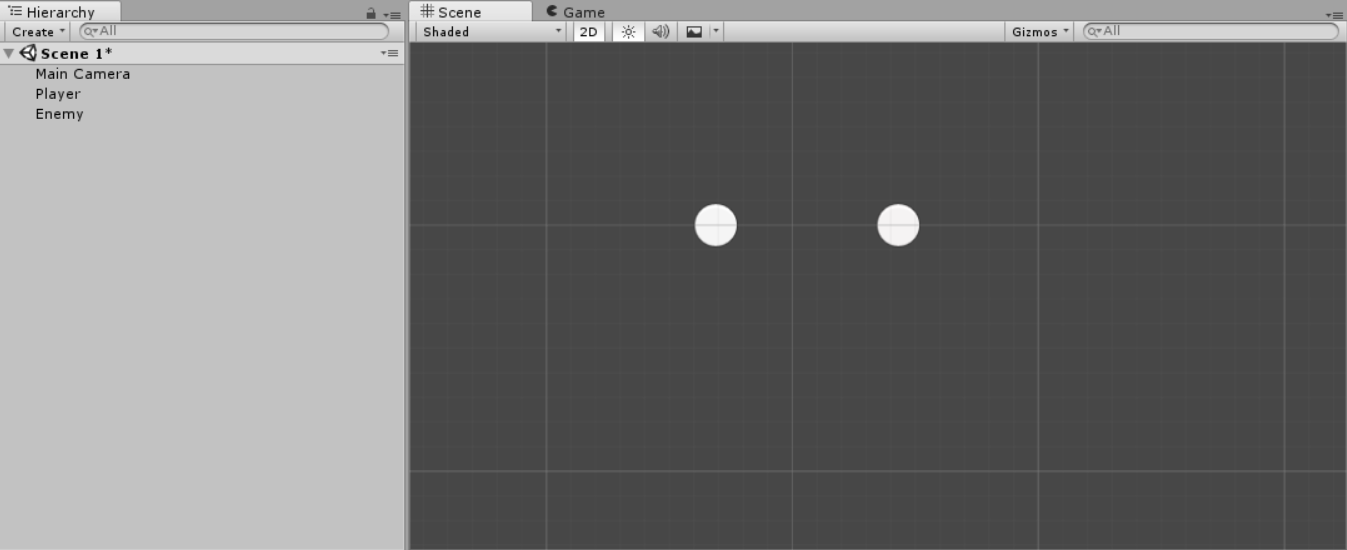
5. Now let's create an enemy. Repeat step 1-4. But this time name the game object as Enemy.
You should end up with something like this.
In Scratch a basic movement code looks like this.
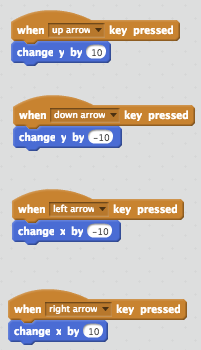
Let's make the player move.
Unity uses Vector to move objects. Vector means direction and magnitude.
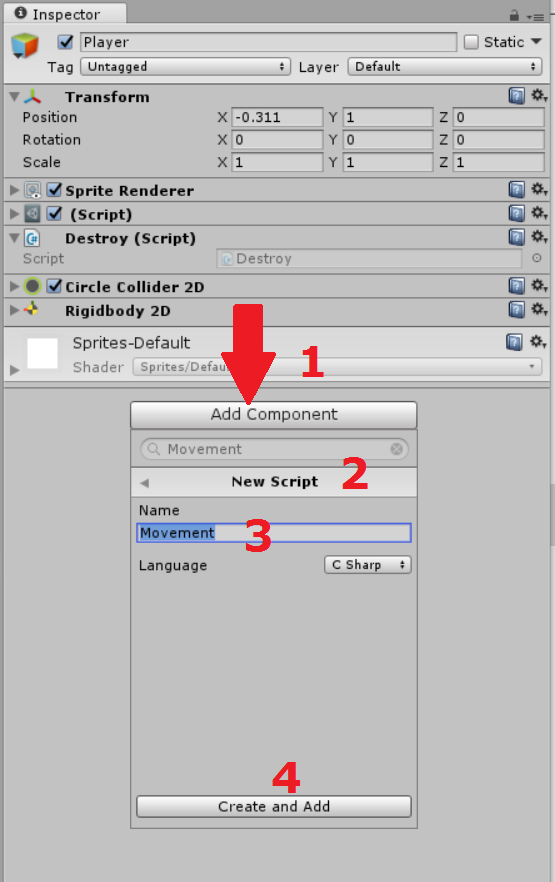
1. First you need to create a script to do this Select "Player" gameobject, go to Inspector Window and Add component > New Script > and name the Script "Movement". Make sure that the Language is C sharp. Click "Create and Add".
2. The below C# code allows you to move your "Player" gameobject using the arrow keys/WASD keys in Unity.
Copy and paste the below into the Movement script that you have just created above in Visual Studio Code..
Collision Detection means determining whether two objects have collided.
In Scratch, a simple collision detection and destroy looks like this.
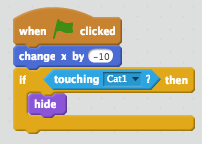
Now we are going to add collision detection logic to make the enemy disappear.
1. You will need to add a ridgetbody 2D component and Circle Collider 2D to your "Player" gameobject.
2. You will need to enable "Freeze Position X and Y" under rigetbody 2D" settings.
3. For the "Enemy" gameobject you will just need to add a Circle Collider 2D.
4. Create a new script for the "Player" gameobject and name the script "Destroy".
5. Add the script below to your "Player" gameobject.
Now that you have created your first C# project, you can choose to
Read about some of the C# fundamentals.
Start Creating your first Unity 2D game.
